Deco-Scapes Process
It is important that you know and understand the complete installation process from the beginning to the end.
After scheduling of the job, you will be given an approximate time frame of when your project will start. You will be called a few days before the start of the project to review the project and address any concerns. A meeting at your home may be scheduled to go over the project and outline what you can expect to take place during the project. Elevations, access points, and any concerns that you may have will be discussed. Final color selection and pattern selection are also picked. At this time you will have a clear understanding of what will take place. You will be given your project manager's contact information for daily communication throughout the process.
Below is a summary of what you can expect:
Installation, Day 1:
- Grade and layout are set using a laser and the layout determined in the pre construction meeting.
- Tear out existing (if applicable).
- Digging and installation and compaction of gravel base. Excavated dirt is either hauled away or kept on job site, depending on client's desire.
- Steps are formed and poured depending on size of job.
- Pad is formed.
Installation, Day 2:
- Crew arrives to pour and stamp main pad.
- Reinforcement is put in place if not done on day 1.
- Concrete is poured and then the stamping begins…
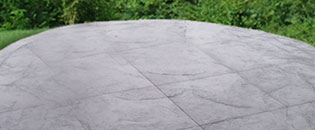
The Stamp Process
When the concrete truck arrives to the job site the integral color is added to the truck. This is the "base color" After the concrete has been placed, screeded flat and bull floated and surfaced troweled smooth and the concrete is still in a "plastic state", a powder release agent is applied prior to stamping. This product serves 2 functions 1) Keeps the mats from sticking to the concrete. 2) Implements another shade of color. Most of this color is washed off the following day. This product is designed to stay in the crevasses or low impressions. Often times this process can get the client extremely nervous. You may have wanted a tan or brown patio, but after the stamping process on Day 1, your patio is gray! No worries, most of the gray will be washed off. The tan is under the gray.
Installation, Day 3:
- Detail Crew arrives.
- Forms will be removed.
- Any necessary detail work will take place. In the stamping process, as stamps are pushed into the soft concrete it is common to get "squeeze" between the stamps. This is typically addressed during the stamping process using chisels. However it may be necessary to detail some areas the day after stamping.
- Control joints are cut. Concrete pad must have control joints. These are saw cuts. These cuts are made with gas powered cut-off saw. When possible we try to put the cut in the pattern to hide it as much as possible. These cuts are placed in strategic areas where concrete has its best chance to crack.
- Pad and house are washed down, and work area cleaned up.
Installation, Day 4:
- Sealer is applied (may not be in consecutive days)
- Stamped concrete project completed.
Contact Deco-Scapes to
Schedule a Free Consultaion
513.353.1778
CARE & MAINTENANCE
Learn how to properly care and maintain your stamped concrete. Deco-Scapes provides key instructions on how to protect your investment.
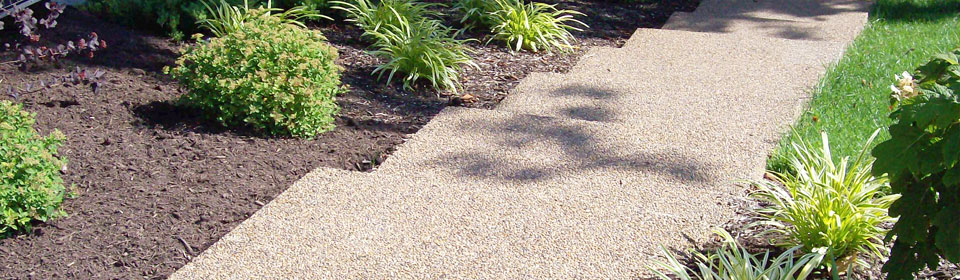
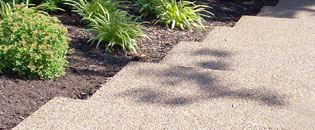
Patios and Walkways
Driveways
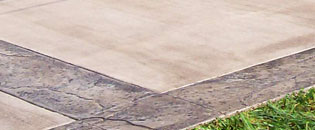
Patterns and Colors